Photography Tips for Commissioned Portraits
Providing a high quality reference photo of your pet with the right perspective, location and lighting is a great way to ensure I can capture all of your pet’s unique characteristics in a commissioned portrait. Here are a few tips to help you take the best possible picture:
- Camera Type
Digital Single Lens Reflex (DSLR) cameras are a great choice for capturing reference photos. Mobile device cameras are a good option for candid pictures, but pictures taken with a DSLR (or prosumer mirrorless) camera are my preferred choice for high-definition reference photos. DSLR cameras have the ability to accentuate fully defined facial and fur details and generally provide good depth of field – these are the details that allow me to capture your pet’s unique characteristics in a portrait. The more tiny details I can see in the photo, the better your commissioned portrait will be.
- Camera Perspective
Try to take a picture of your pet with the camera at your pet’s eye level. Taking a photo from this perspective generally results in a natural pose with a focus on your pet’s face. Depending on your camera and lens, you may achieve the best perspective by being 4-8 feet away from your pet.
- Lighting
I recommend that you take photos outside with natural, filtered lighting as your background so you don’t have to use a flash. Flash photography can result in red eye, change your pet’s natural color or create odd shadows. If possible, try to avoid framing your picture with a very bright or very dark background. I recommend that you take pictures in the morning or evening light to avoid the harsh dynamic range of mid-day sun.
- Position of Pet
You know your pet’s ‘best side’…but trying to capture that can be difficult simply because animals move around so often.
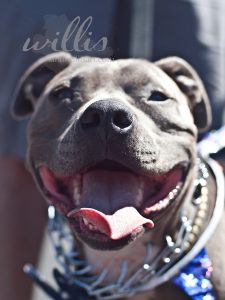
For dogs, catching them sitting down and looking forward at the camera is preferred. But maybe you prefer to try and catch that quirky little smile they do when laying on their back. As long as the details of the photo are super crisp, I’m happy to recreate any pose you send me. I’m simply looking for the fine, high resolution details to be visible.
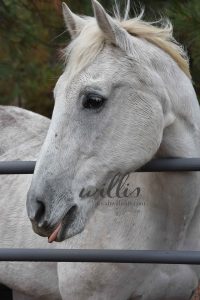
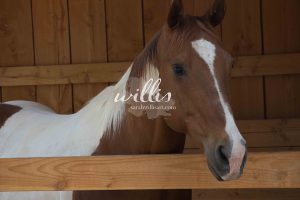
For horses, try to include the head, neck and most of the shoulder in your photo. This type of a profile shot is generally much better than a head-on angle. I find that a quarter view (slightly to the side) gives the best visual of their veins and eyes, as well as allowing for light to highlight those neck and shoulder muscles.
- Delivery of Photos
Please send me your original reference photo file as an attachment (rather than embedded in the body of an email), and please don’t crop the image. I will maneuver and adjust the photo once it arrives (if necessary), but cropping ahead of time might sacrifice the resolution of your photo.
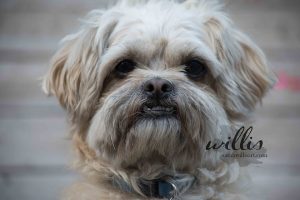
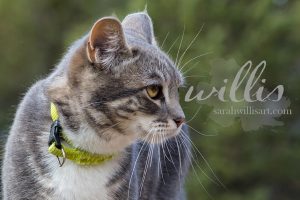
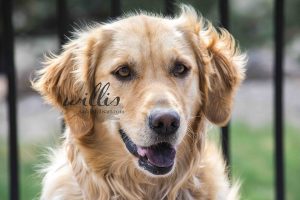
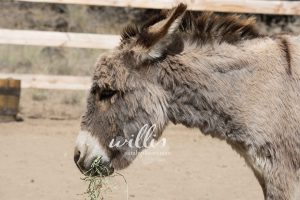
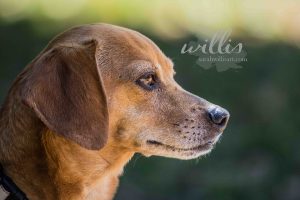
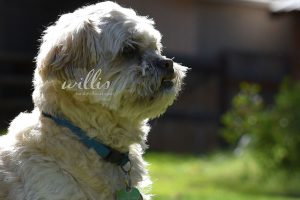
Here are a few examples of good reference photos:
